How to Easily Set Up a Thriving Sprout Garden at Home with Step by Step Instructions

Sprouting seeds at home is a simple, rewarding way to add fresh, nutritious greens to your diet. It requires minimal space, little equipment, and just a bit of patience. Whether you want to grow crunchy alfalfa sprouts, peppery radish sprouts, or mild mung bean sprouts, this guide will walk you through everything you need to know to start your own sprout garden. Follow these easy steps, and soon you’ll enjoy homegrown sprouts bursting with flavor and health benefits.

What You Need to Start Your Sprout Garden
Before you begin, gather these essential materials. Having everything ready will make the process smooth and enjoyable.
Seeds for sprouting: Choose seeds labeled specifically for sprouting to ensure they are safe and free of chemicals. Popular options include alfalfa, mung beans, lentils, radish, broccoli, and clover.
A wide-mouth glass jar or sprouting tray: Glass jars with mesh lids or sprouting lids work well. Sprouting trays with drainage also make rinsing easy.
Clean water: Use filtered or tap water that is safe to drink.
A dark, warm place: Sprouts grow best in indirect light and temperatures between 65-75°F (18-24°C).
A fine mesh or breathable cloth: For covering jars during soaking and rinsing.
A rubber band or sprouting lid: To secure the cloth on the jar.
Having these simple tools means you can start sprouting right away without extra fuss.
Step 1: Choose Your Seeds and Prepare Them
Select seeds that sprout well and suit your taste. For beginners, alfalfa and mung beans are excellent choices because they sprout quickly and have a mild flavor.
Measure about 1-2 tablespoons of seeds per jar.
Rinse the seeds thoroughly under cool water to remove any dust or debris.
Place the seeds in your jar or sprouting container.
Step 2: Soak the Seeds Overnight

Soaking softens the seeds and kickstarts germination.
Add enough water to cover the seeds by about two inches.
Cover the jar with your mesh or cloth secured with a rubber band.
Leave the jar in a dark, warm spot for 8-12 hours or overnight.
Soaking times vary by seed type: mung beans may need 8 hours, while lentils might require 12.
Step 3: Drain and Rinse the Seeds
After soaking, draining excess water is crucial to prevent mold.
Drain the water through the mesh or cloth.
Rinse the seeds with fresh water, swirling gently.
Drain again thoroughly.
Step 4: Begin the Sprouting Process
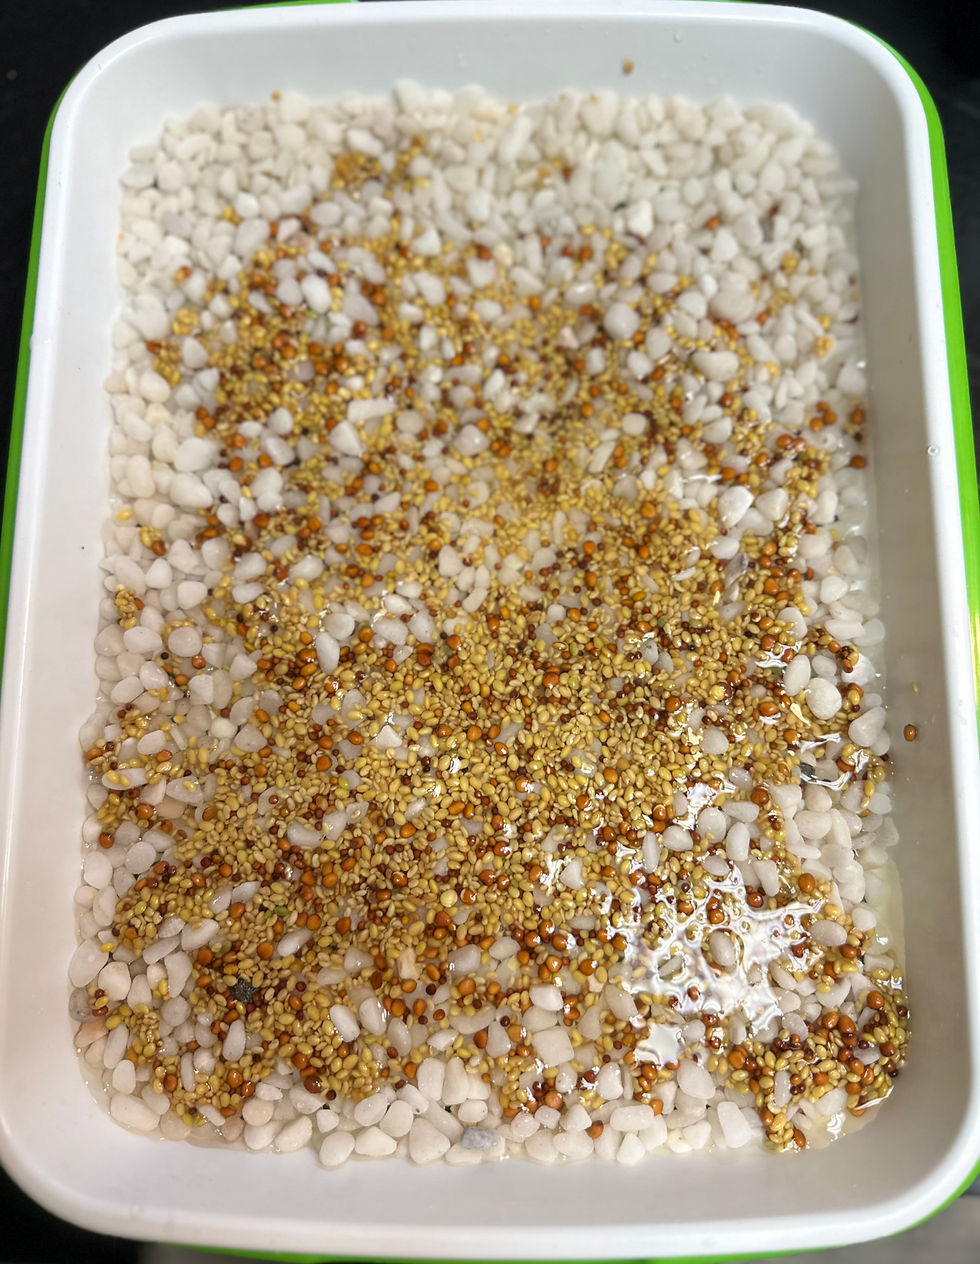
Place the jar at an angle to allow excess water to drain and air to circulate.
Keep the jar in a dark or dimly lit area.
Rinse and drain the seeds twice daily, morning and evening.
Each time, drain thoroughly to avoid standing water.
Within a few days, you will see tiny sprouts emerging.
Step 5: Expose Sprouts to Light for Greening
Once the sprouts are about half an inch long, move them to indirect sunlight for a few hours daily.
This step helps develop chlorophyll, turning sprouts green and enhancing flavor.
Avoid direct sunlight, which can dry out the sprouts.
Step 6: Harvest Your Sprouts

Most sprouts are ready to eat in 3-7 days, depending on the seed type.
Look for crisp, green leaves and firm stems.
Give them a final rinse and drain well.
Store sprouts in a covered container in the refrigerator for up to a week.
Enjoy them fresh in salads, sandwiches, or smoothies.
Tips for Successful Sprouting
Use fresh, high-quality seeds: Old or low-quality seeds may not sprout well.
Keep everything clean: Wash jars and hands thoroughly to avoid contamination.
Avoid standing water: Always drain well after rinsing to prevent mold.
Maintain proper temperature: Too cold or too hot slows sprouting or causes spoilage.
Be patient and consistent: Regular rinsing and draining are key to healthy sprouts.
Troubleshooting Common Issues
Mold or bad smell: Usually caused by poor drainage or dirty equipment. Clean jars well and drain thoroughly.
No sprouting: Seeds may be old or not suitable for sprouting. Try a fresh batch.
Sprouts too bitter: Overexposure to light or letting sprouts grow too long can cause bitterness.
Why Grow Sprouts at Home?

Sprouts are packed with vitamins, minerals, and enzymes that support digestion and immunity. Growing them yourself means you control freshness and avoid pesticides. Plus, sprouting is a fun, educational activity that connects you with your food.
Starting a sprout garden requires little space and investment but offers big rewards in taste and nutrition. Use the steps and tips here to create your own thriving sprout garden at home.
Try sprouting today and enjoy the crisp, fresh flavor of homegrown greens!


Comments